Creating a Countdown Timer
This timer was first created in 2016 using Storyline 2, and the ability to use timers has changed significantly with Storyline 360. While you may not need to follow these steps anymore to create what I did, I like to keep this example in my portfolio as it's a good representation of my thought process and communication skills.
See the finished product in a fun quiz I built around one of my favorite television shows. 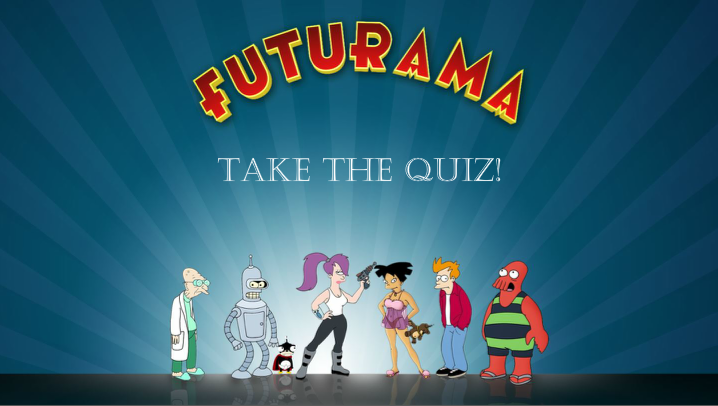
I took part in my first Articulate challenge. These challenges are created as an informal way to train users on Articulate products, improving their knowledge and skills. While the challenge at first didn’t seem terribly complicated, I spent hours reworking my example and thought about ways to improve it for several days afterwards. Below is a progression of my work through the creation of the countdown timer.
Part I: Wheel Animation
I started out by learning how to use the wheel animation in Storyline 2. I always assumed the wheel animation was only ever used by children playing around in PowerPoint, but it turns out it has quite a useful purpose! I simply created two circles of different colors and used the wheel animation on the top, light blue circle for 20 seconds. As you see below the wheel slowly reveals the light blue top and acts as a hand counting down the seconds.

This was quite simple to implement, looks nice and is not an in your face way to put pressure on the learner.
Part II: Adding in a countdown
While debugging a few of the other elements and mulling over my work in Part I, I kept feeling like there was more I could do with this timer. Couldn’t I actually make it countdown?
I removed the ? and replaced it with 20 simple text box numbers which only lasted a second. Here you see the timeline with a new number each second.
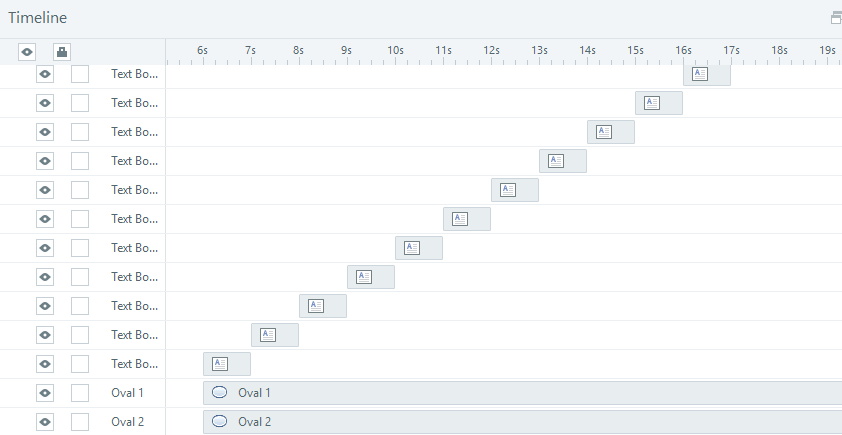
Each item was eventually grouped together so it didn’t look so intense in my timeline. This process gave us this timer:

But, I still felt like that was pretty amateurish and felt sure there was a way to make it even more direct and easy to modify than moving each second forward or back on my timeline. One feature of Storyline that I am slowly dipping my toes into are the variables and personalized programming.
Part III: Using Variables
I wanted my timeline to be much cleaner and easy to duplicate on another slide, so I deleted each of the text box numbers and started from scratch with my two circles. I then created a new variable, %DisplaySeconds%, and set it to zero. I then added a trigger for each second so it would ‘automatically’ countdown as the timeline moved forward.

The look is still the same as in Part II, but my timeline is cleaner and the variable is far more easy to modify and reproduce. Just for fun I tried it again on another slide but set the timer value to 20 and subtracted a value each second, which produced the same effect.